
When it comes to acrylic pouring, there is a whole spectrum of pouring techniques to discover, from simple to complex. I have slowly ventured into different pouring techniques and have not yet tried or mastered them all. In this post, I want to introduce you to five of my favorite pouring techniques. First, read this post if you want to know what you need for acrylic pouring.
Flip Cup Pouring
One of the simplest pouring techniques is definitely flip cup pouring. Why? Because you basically just have to flip a cup, as the name suggests. In flip cup pouring, you pour your prepared colors one after another into a cup to create layers of color. Then, you flip the cup onto the canvas. As you lift the filled cup, the paint flows onto the canvas. This often creates many cells and unique color patterns.
When layering the colors, it is important that the diluted colors have the same consistency. If one color is thicker than the others, it will sink to the bottom of the cup, and the colors will already mix in the cup. However, this can also be very exciting and create fantastic patterns. This experimentation is especially used in the pouring technique called “dirty pour.” In flip cup pouring, clear layers should be created in the cup. How you layer the colors is entirely up to you.
As a tip: Instead of flipping the cup onto the canvas, you can flip the canvas and place it on top of the cup. Hold both firmly and flip them simultaneously. This way, nothing spills.
If you want to see this pouring technique, watch a video here.
pool
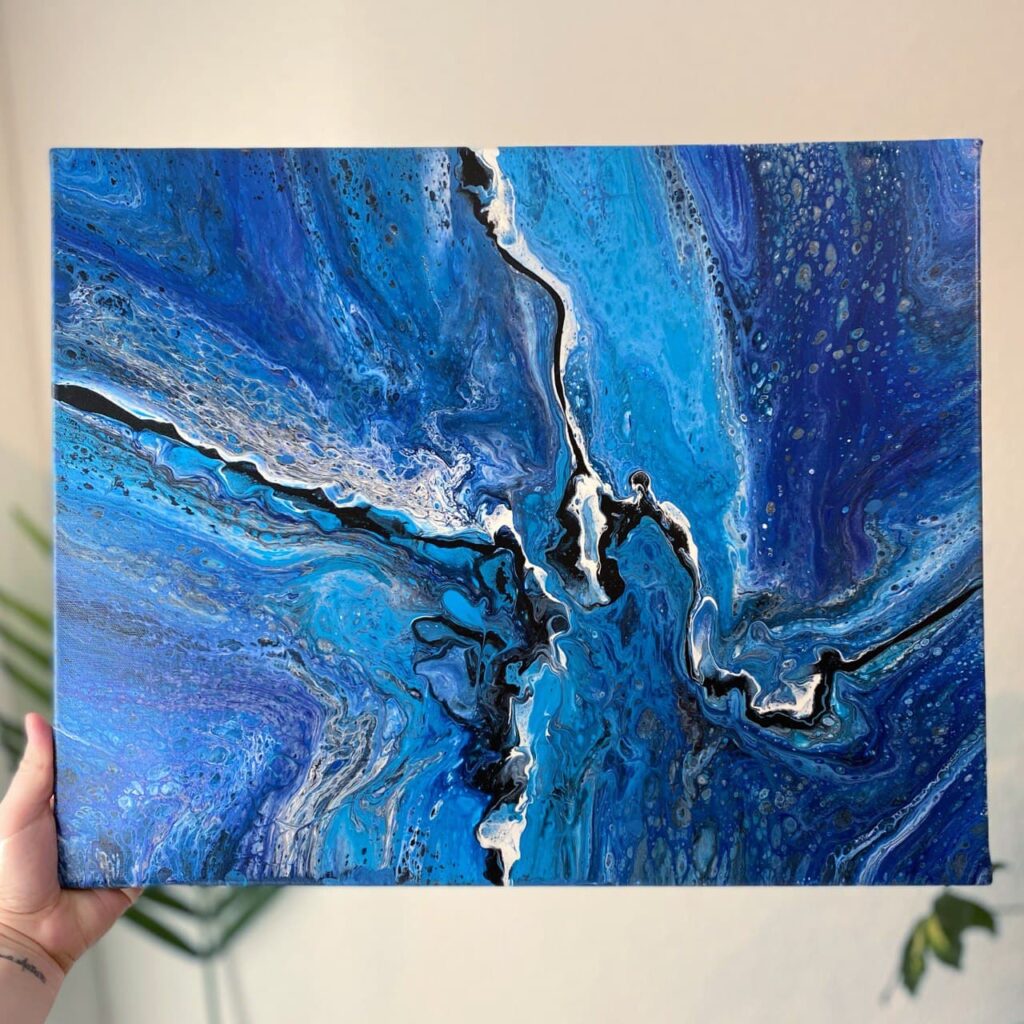
Tree Ring Pouring
The tree ring pour is one of my absolute favorite pouring techniques. As the name suggests, it creates patterns that resemble tree rings. Depending on the colors used, clear lines can be formed between the rings. This pouring technique is also suitable for beginners.
Similar to flip cup pouring, in tree ring pouring, the premixed colors are layered in a cup. The consistencies should also be fairly similar here so that the paint is not already mixed in the cup. You achieve the best result by layering the colors in the same order each time, for example, gold, black, white, gold, black, white, etc. Instead of tipping the entire cup like in flip cup pouring, you have to slowly pour out the cup here. The circular motion of the hand while the acrylic paint flows onto the canvas is very important.
If you want to see this pouring technique, watch a video here.
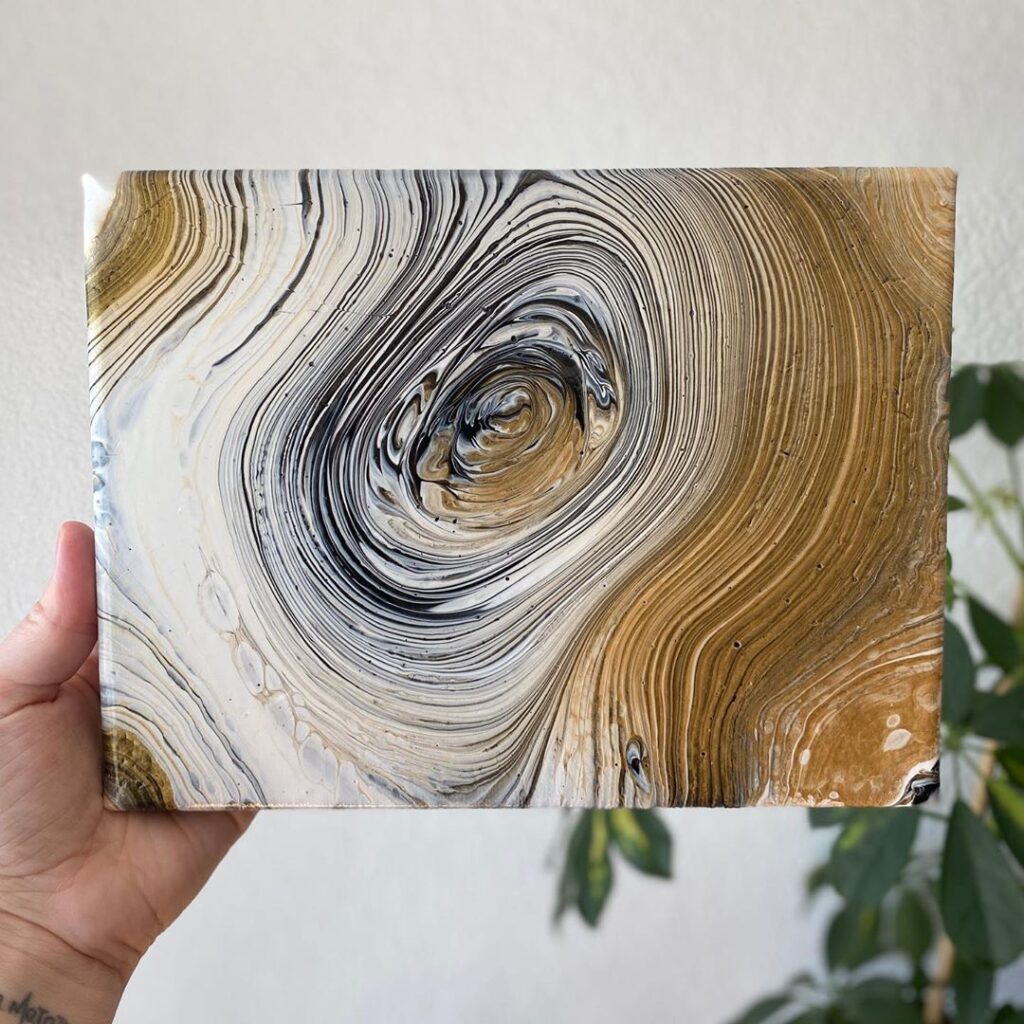
goldy
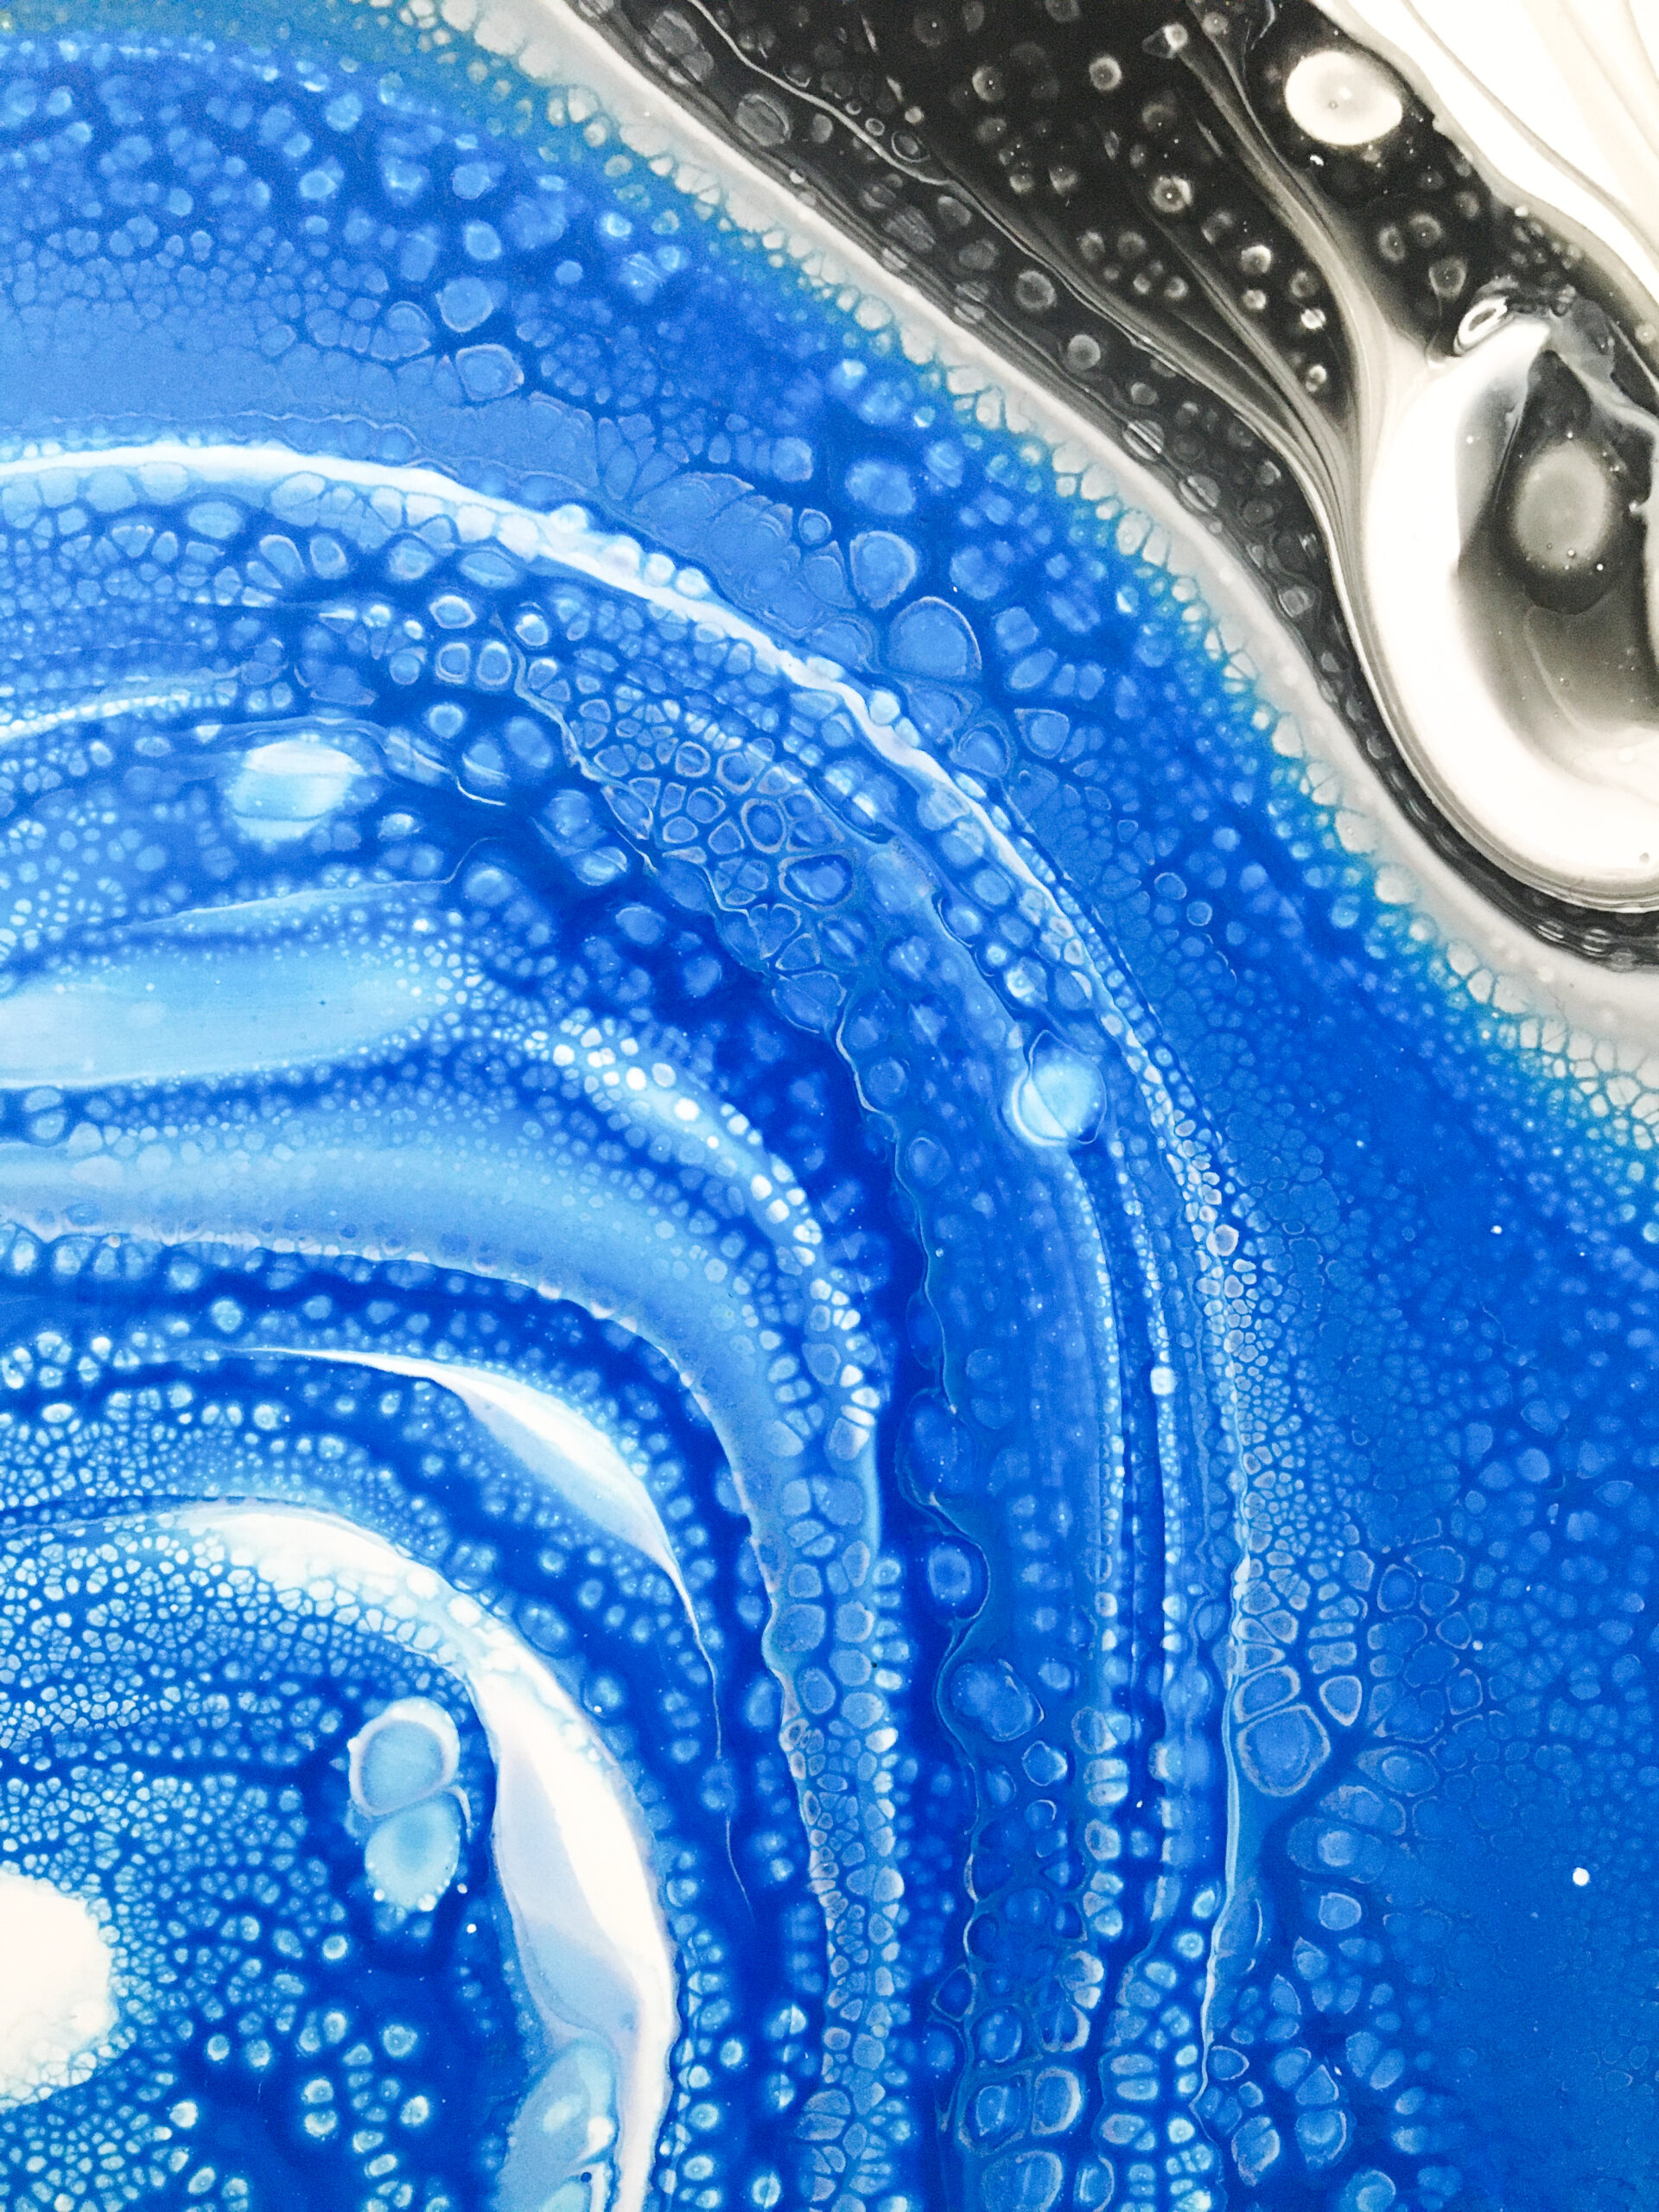
Swipe
Swipe is one of the pouring techniques that requires a steady hand and a certain level of care. The challenge with swiping is to not remove all of the paint from the canvas. If the paint stays where it should, beautiful patterns with many cells are created.
In the swipe technique, several mixed colors (ideally with the addition of silicone oil) are poured onto the canvas. Additionally, a single color without silicone oil is applied to the edges. The single color can then be swiped over the other colors using a sheet of paper, a palette knife, or a similar tool. This swiping motion creates many cells. A swipe can also be applied only to small parts of an image instead of the entire image. In the image below, I cut out small strips of paper and made many small swipes.
paradox
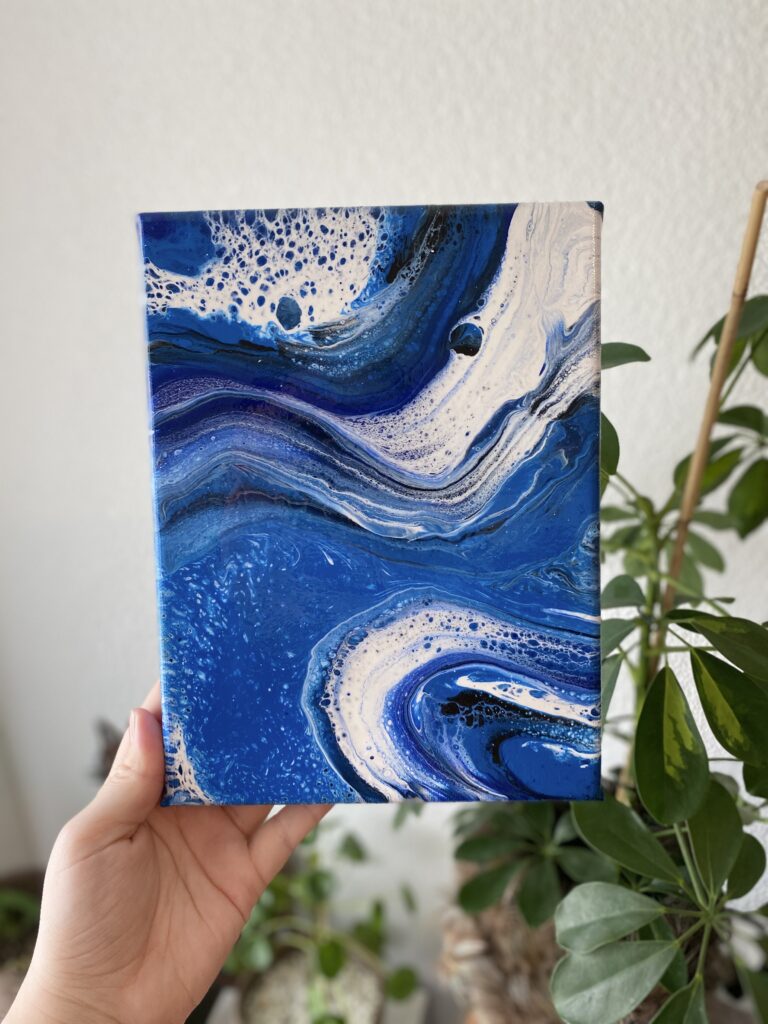
Dutch Pour
Dutch Pour is a unique technique. By blowing into the colors, patterns resembling flowers or smoke are created, depending on the color combinations. The patterns are particularly accentuated by the negative space determined by the base color.
In Dutch Pour, the entire canvas is first poured with a base color, often using black or white. However, multiple base colors can also be used. Then, lines or circles are drawn with different colors. The colors should be applied in layered fashion. To distribute the colors, a hairdryer or one’s own breath is used to blow diagonally outward into the lines and circles. I never use a hairdryer, but sometimes use straws to work on smaller areas. Blowing pushes the colors over the base color.
It is important that the colors have a not too thick consistency, otherwise it will be impossible to distribute the paint with one’s breath.

twilight
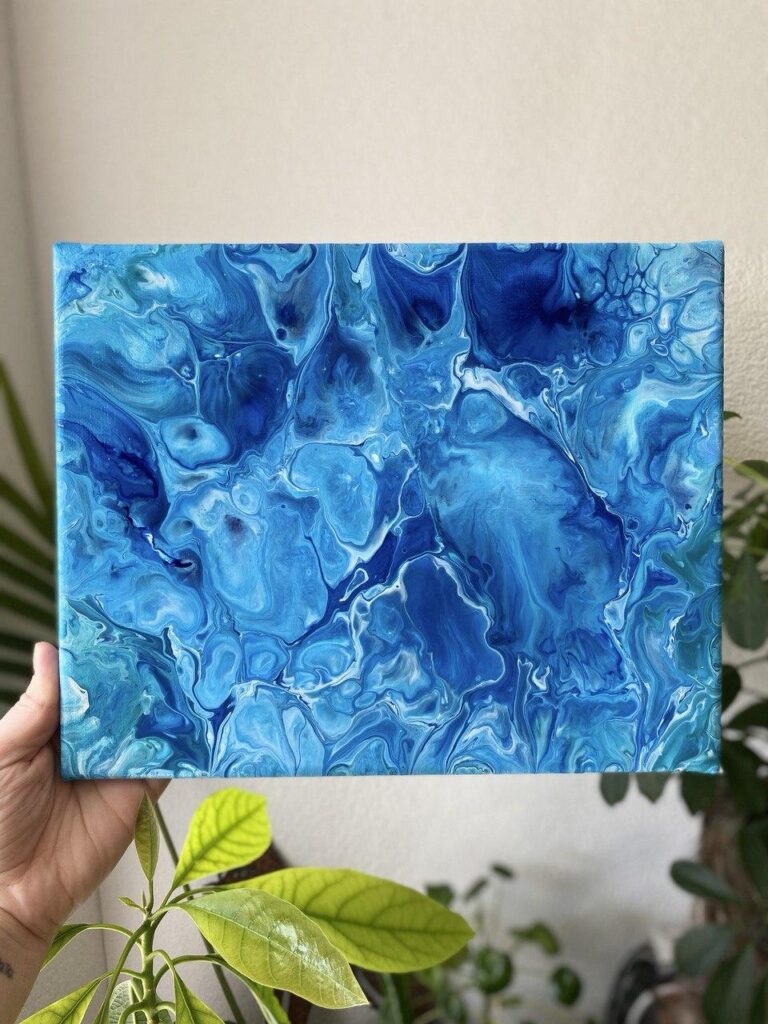
Freestyle – a Combination of Techniques
Freestyle is not actually an official pouring technique, but it allows for the combination of various pouring techniques. This can enhance certain effects or sometimes conceal imperfections. I have also poured only parts of a canvas and created amazing patterns. In acrylic pouring, one should not feel bound to a specific technique but rather be completely free.
If you want to see this pouring technique, watch a video here.
courage
Which one is your favorite acrylic pouring technique?